Old furniture carries with it a sense of history and character that is often unmatched by newer pieces. Whether it’s a cherished family heirloom or a flea market find with hidden potential, restoring old furniture allows you to breathe new life into these timeless pieces. With the right tools, techniques, and a touch of creativity, you can transform tired and worn-out furniture into stunning focal points for your home. Here’s a comprehensive guide to restoring old furniture:
Assessment and Preparation: Before diving into the restoration process, carefully assess the condition of the furniture piece. Identify any structural damage, such as loose joints, cracks, or missing parts, that need repair. Take note of the type of wood, finish, and existing hardware to determine the appropriate restoration techniques.
Cleaning and Stripping: Begin by cleaning the furniture to remove dirt, grime, and old finish buildup. Use a mild detergent solution and a soft cloth to gently scrub the surface, taking care not to damage the wood. For stubborn stains or layers of old paint or varnish, consider using a chemical stripper to remove the finish. Follow the manufacturer’s instructions and wear protective gloves and eyewear when working with chemical strippers.
Repairing and Replacing: Address any structural issues by repairing or replacing damaged components. Glue loose joints using wood glue and clamps, and fill cracks or holes with wood filler. Replace missing hardware, such as knobs, handles, or drawer pulls, to restore functionality and aesthetic appeal. Sand the repaired areas smooth to ensure a seamless finish.
Sanding and Surface Preparation: Once the furniture is clean and repaired, sand the entire surface to remove any remaining finish and smooth out imperfections. Start with coarse-grit sandpaper to remove roughness and then progress to finer grits for a smooth, even surface. Pay special attention to intricate details and hard-to-reach areas, using sanding blocks or detail sanders as needed.
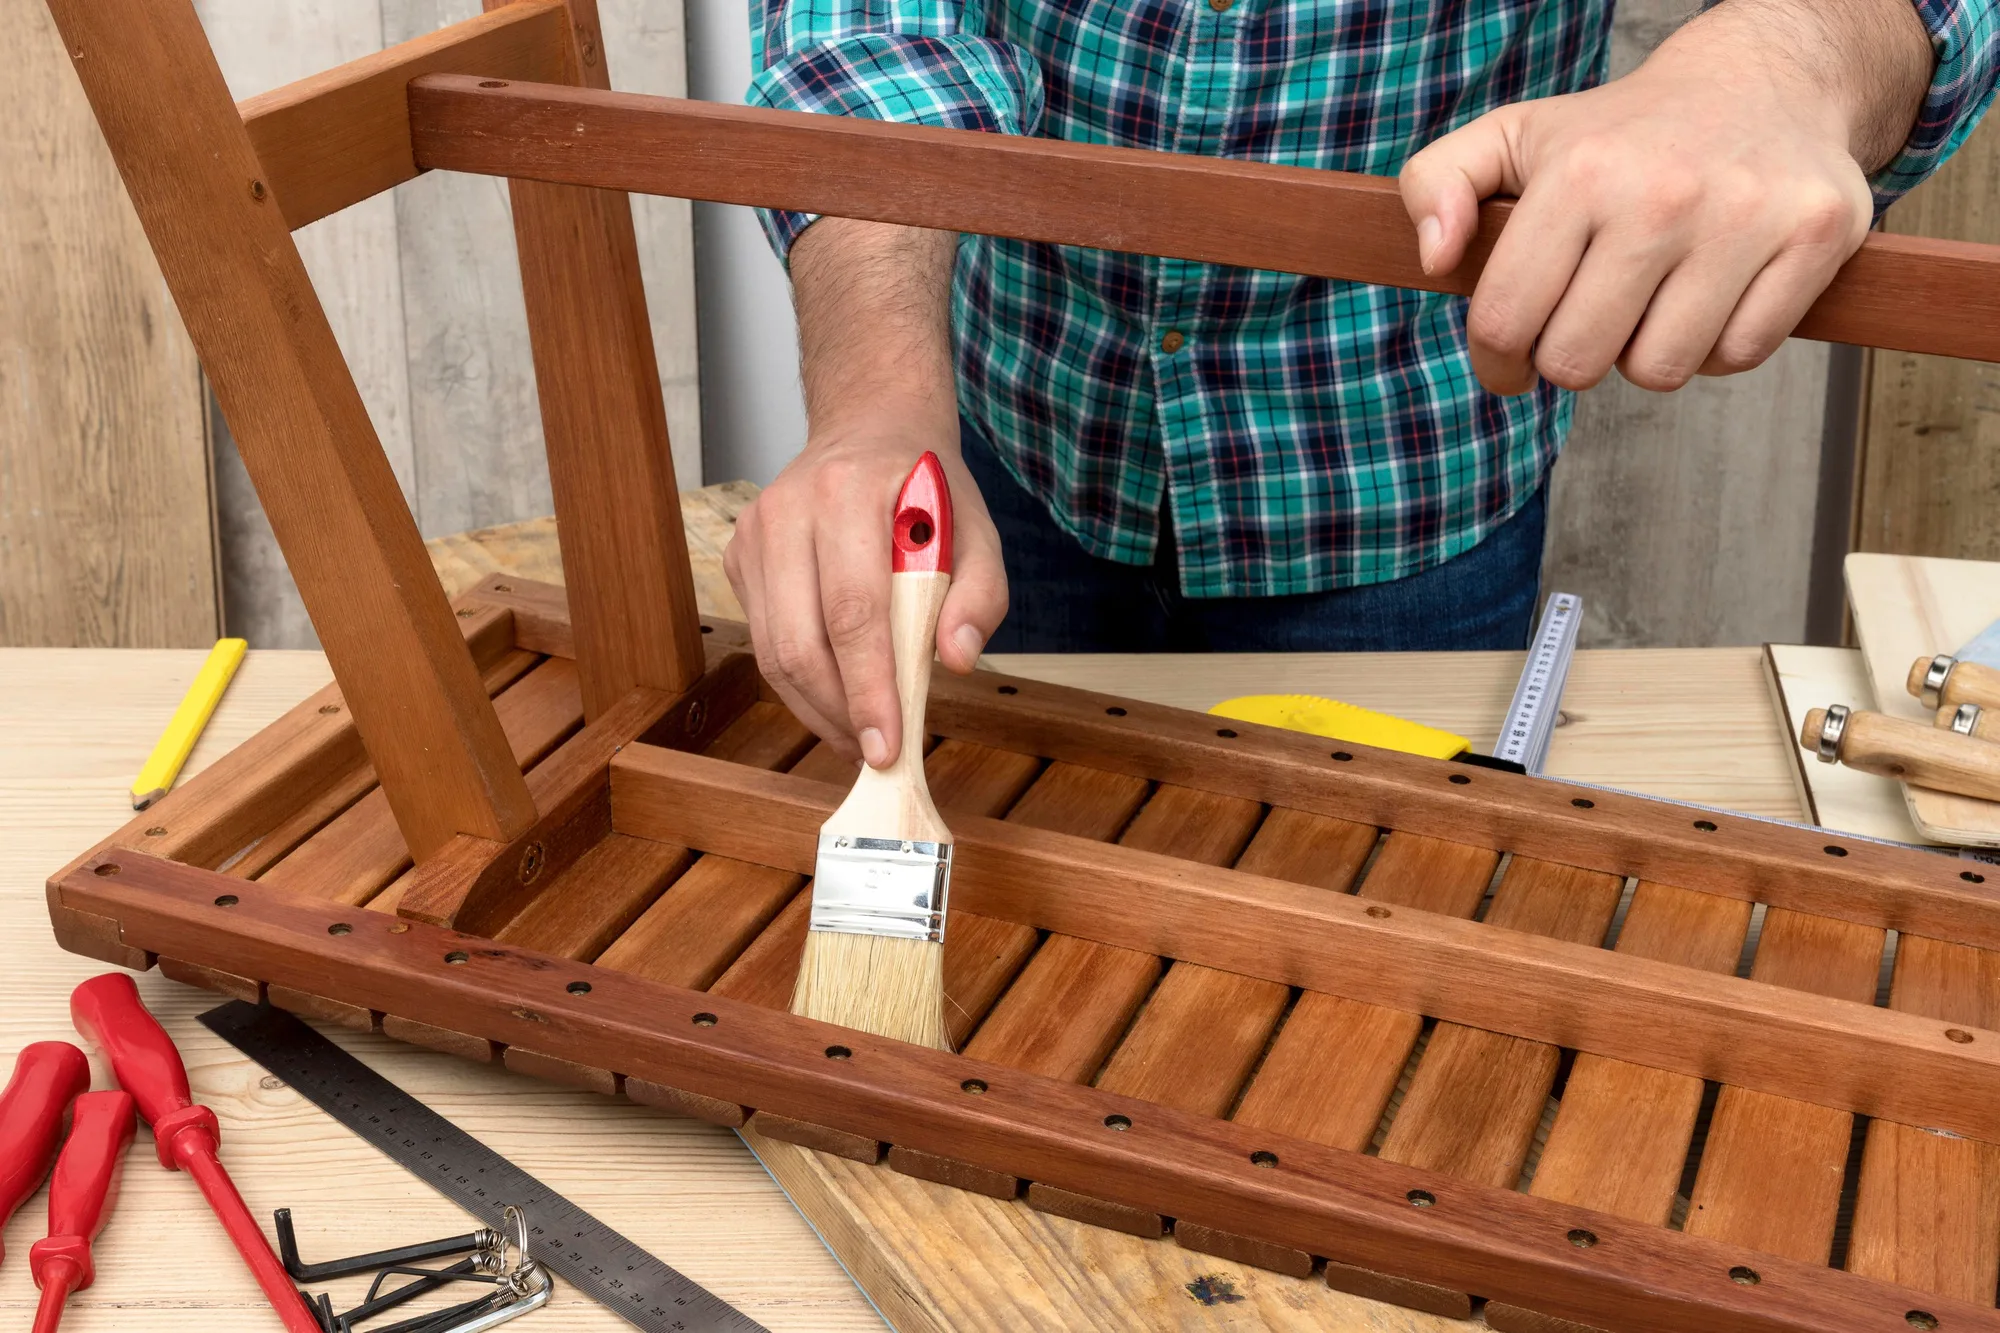
Staining or Painting: Decide whether you want to stain the wood to enhance its natural beauty or paint it to achieve a new look. If staining, choose a wood stain that complements the existing wood tone or achieves the desired color. Apply the stain evenly with a brush or cloth, following the wood grain, and wipe off any excess to achieve the desired hue. Alternatively, if painting, use a high-quality primer to prepare the surface and apply several thin coats of paint for a smooth and durable finish.
Finishing Touches: Once the stain or paint has dried completely, protect the surface with a clear topcoat or finish. Choose a finish appropriate for the type of furniture and desired level of durability, such as polyurethane, lacquer, or wax. Apply the finish evenly with a brush or sprayer, following the manufacturer’s instructions, and allow ample drying time between coats. Sand lightly between coats for a smooth, professional-looking finish.
Reassembly and Hardware Installation: After the finish has cured, reassemble the furniture and install any new hardware. Ensure that all joints are secure and hardware is properly aligned and tightened. Take your time with this step to ensure that the restored furniture is sturdy and functional for years to come.
Final Touches and Styling: Once the restoration is complete, take a moment to admire your handiwork and add any final touches to enhance its appearance. Consider adding decorative elements, such as trim, molding, or upholstery, to further customize the piece to your taste. Finally, incorporate the restored furniture into your home decor, where it can serve as a beautiful and functional reminder of the past.
Restoring old furniture is a rewarding endeavor that allows you to preserve cherished memories and breathe new life into beloved pieces. With patience, attention to detail, and a willingness to experiment, you can transform even the most worn-out furniture into stunning works of art that will be treasured for generations to come. So roll up your sleeves, gather your tools, and embark on a journey to revive the beauty of old furniture one piece at a time.

